Did you know, on average, we spend a total of 92 days of our lives in the bathroom? That’s especially a lot when you consider how little we may do to maintain it. A hygienic and properly functioning bathroom is fundamental to maintaining a happy home and good health. Here, we’ve got you covered in three essential areas. Plus! A tip from a fellow Habitat homeowner.
Unclogging drains
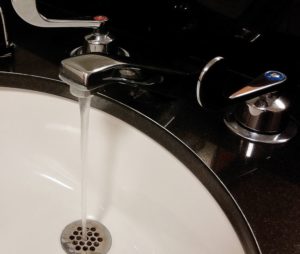
Bathroom sink still clogged? No problem. Try this simple approach before moving on to more creative solutions.
Sometimes you can find the source of clogging right up top. Unscrew the stopper and feel around the drain’s inner ring. Hair and debris can often get stuck on the stopper and are easily removed. Once you’ve thrown the guck out, clean the drain to prevent further build up.
If you’re not able to locate the source from the top of the drain, move on to step two: the trusty plunger method.
Fill the sink with at least two inches of water and seal the drain with the bell of the plunger. Start off gently at first and slowly build up pressure with vigorous pumps—try 15 to 20 plunges and add water as needed. The pressure of the water moving back and forth will usually break away the clog and restore the flow.
Fixing a running toilet
 Running toilets may be a prank call classic, but they’re nothing to laugh about when you realize how much this chronic inconvenience is adding to your water bill. A continuously running toilet is the most common culprit to high water bills, wasting up to 200 gallons a day. But don’t fret! We’re here with 5 easy steps:
- Turn the water shut off-valve located behind the toilet’s base so no more water flows during this process.
- Remove the tank lid.
- Check the rubber flap located beneath the tank arm that extends from the lever you use to flush. If you see discoloration, it’s a clear sign of leakage.
- Be sure that the location of the float on the chain is at the water level height. The float is designed to always rest at the top of the water so if it’s too far down on the chain, this will trigger the rubber flap to open, unnecessarily. Adjust accordingly.
- If you see any damage to the rubber flap, replace with the manufactured recommendation of your toilet brand.
Cleaning a bathroom fan
 It’s surprising how much dust can collect on a bathroom fan, otherwise known as an exhaust vent. Particle buildup can cause improper air flow, leaving your bathroom walls moist—the breeding ground for mold. Like any fan, regular cleaning is essential to a tidy home, but it’s also crucial for your health. Make this process part of your routine and you’ll be on your way to a well-ventilated bathroom.
There are typically two types of bathroom fan covers: springboard and center-screw. If you see a screw in yours, simply unscrew it and place the cover in the sink. For a springboard cover, gently begin to pull it off the ceiling. Locate the clips at the sides and squeeze each side together until it comes off the brackets, fully.
If there’s little buildup, you can simply use the brush hose attachment of a vacuum to suck away debris. If there’s thicker buildup, wipe the cover clean with water until it looks new again. Use the brush hose to clean around the fan’s motor as well. Once everything’s clean and dry, reattach the cover to the ceiling. Regular maintenance will keep your bathroom healthy for everyone who stops by.
An extra tip from Habitat homeowner, Ernestine:
“To check the effectiveness of a bathroom fan vent, turn it on and hold a square of toilet tissue over the vent. If it sticks, your vent is functioning appropriately. If it does not stick, it’s time to repair or replace the vent.”
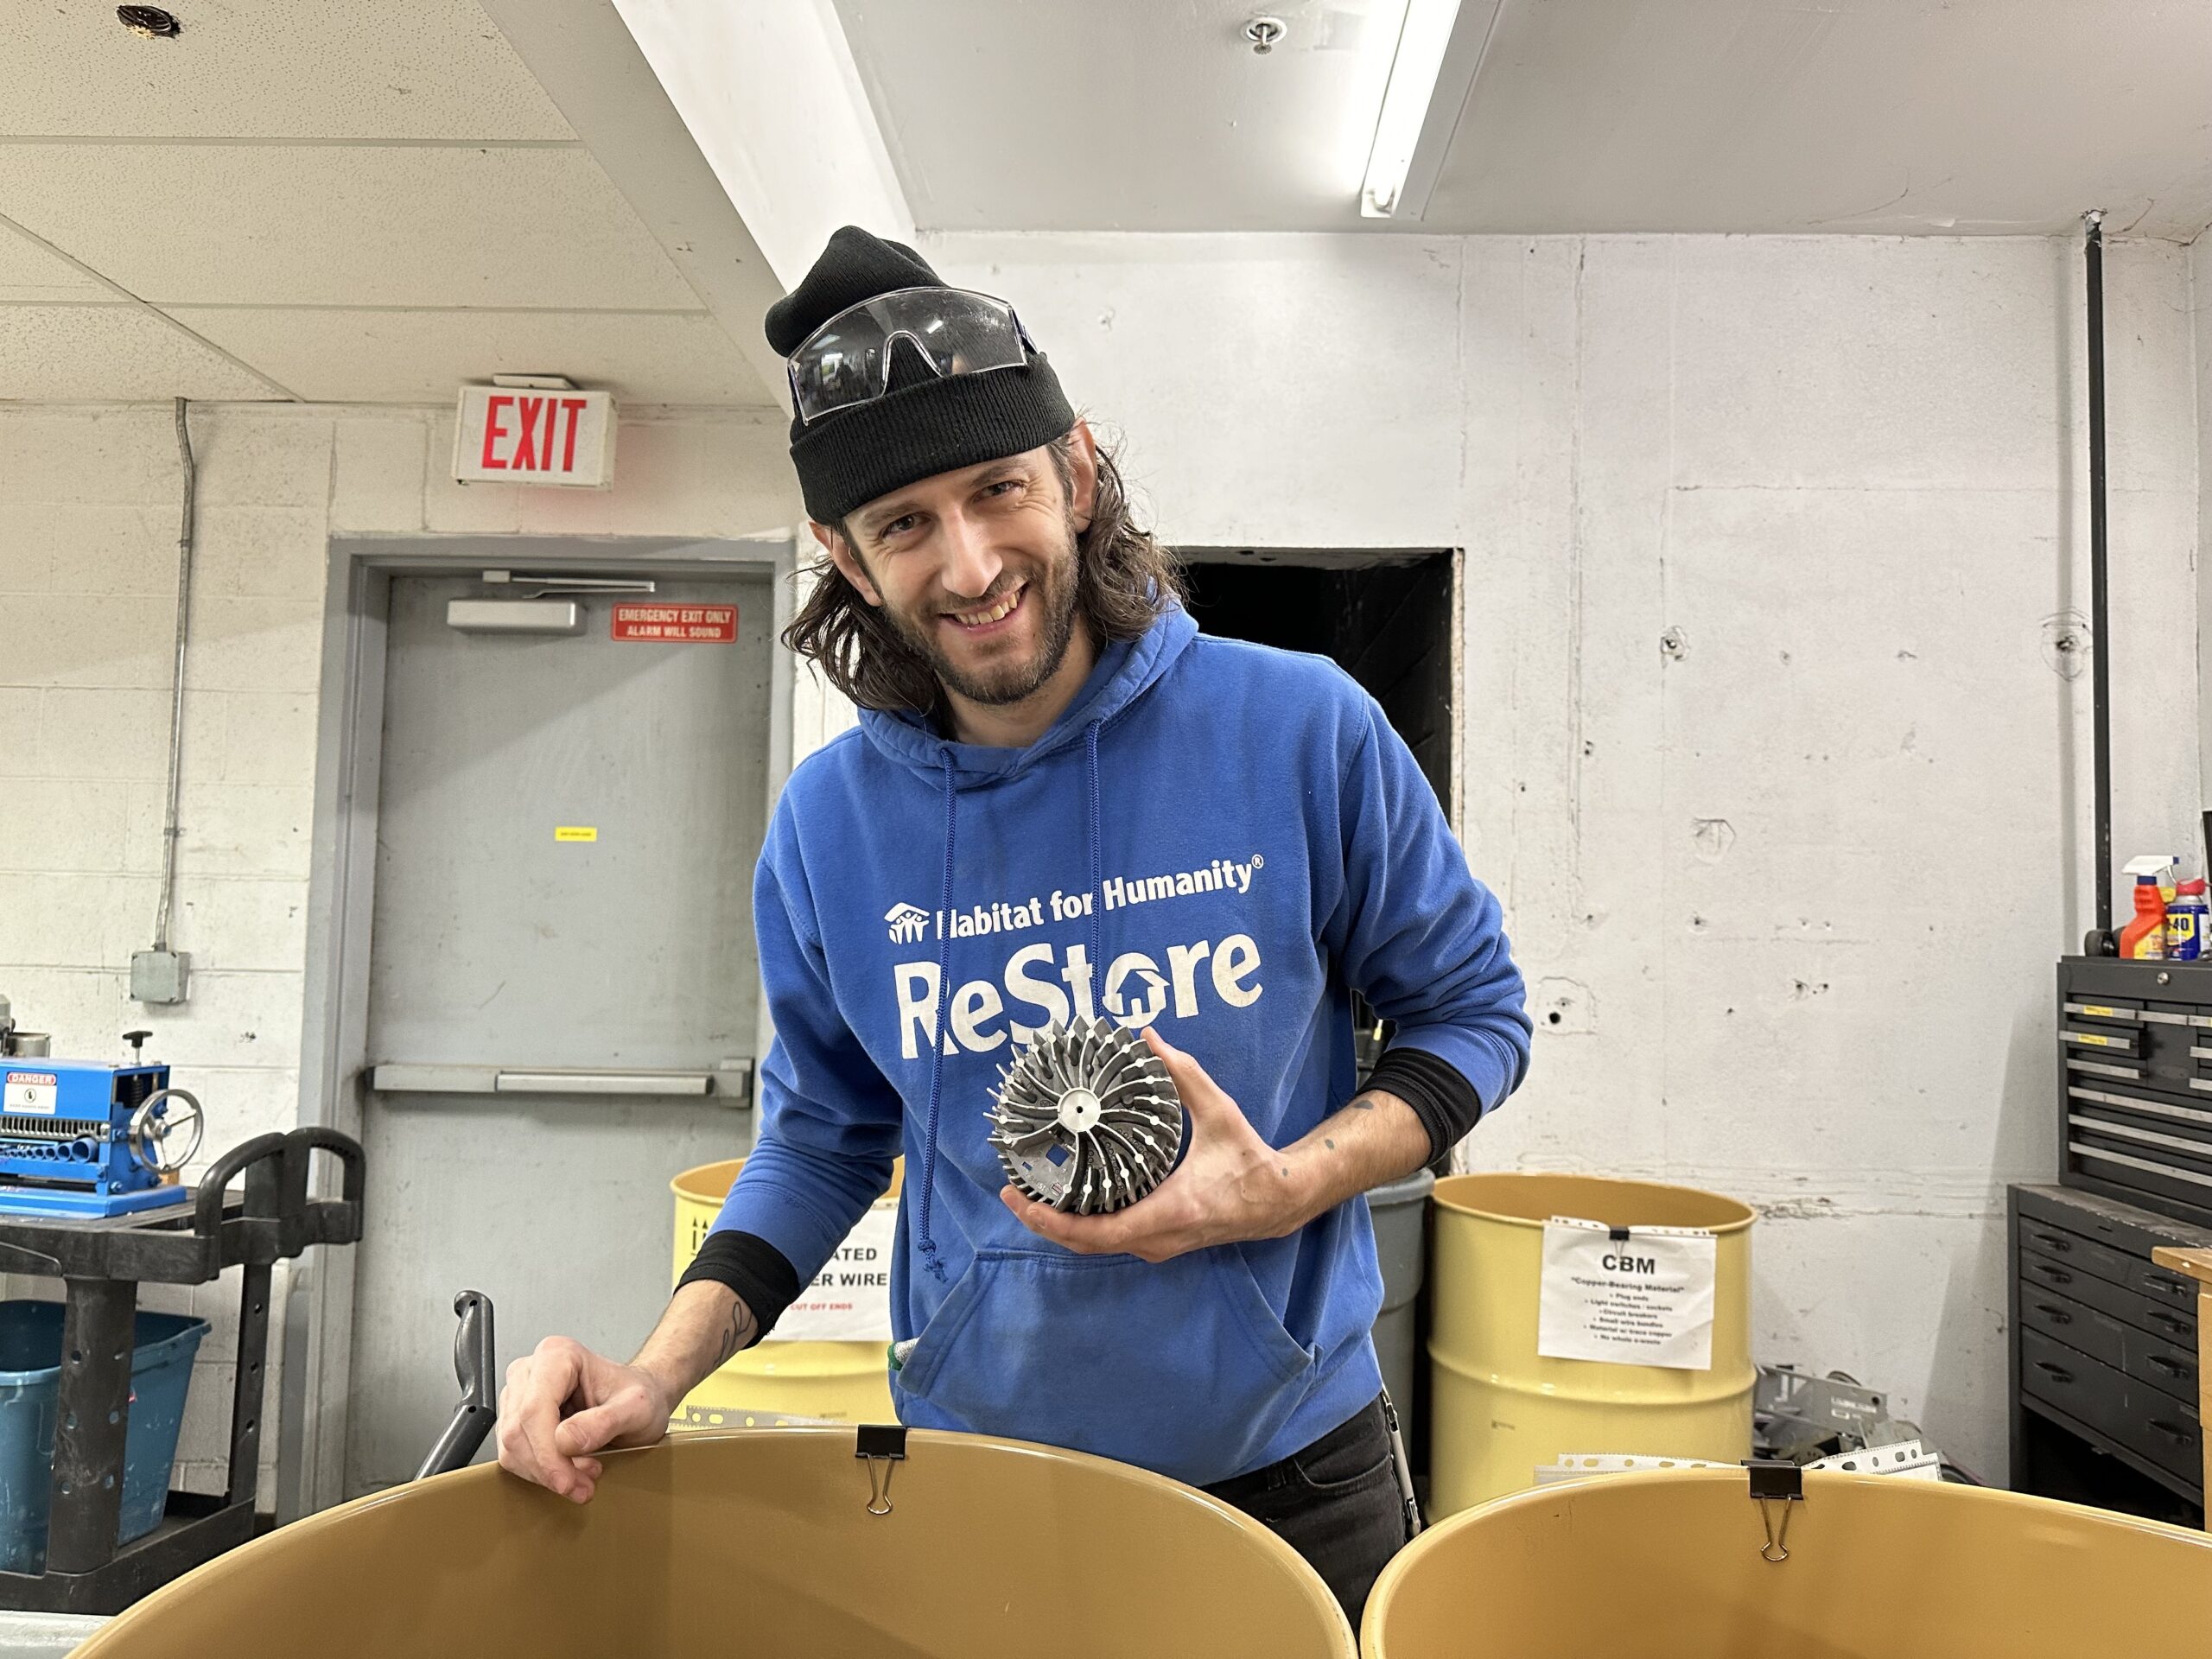
Want to start maintaining a healthy and happy home, but need a few more supplies? Visit your local Habitat for Humanity ReStore, open 7 days a week.